How to Repair Cracked Leather? - Step by Step Guide
What Causes Cracks in Leather?
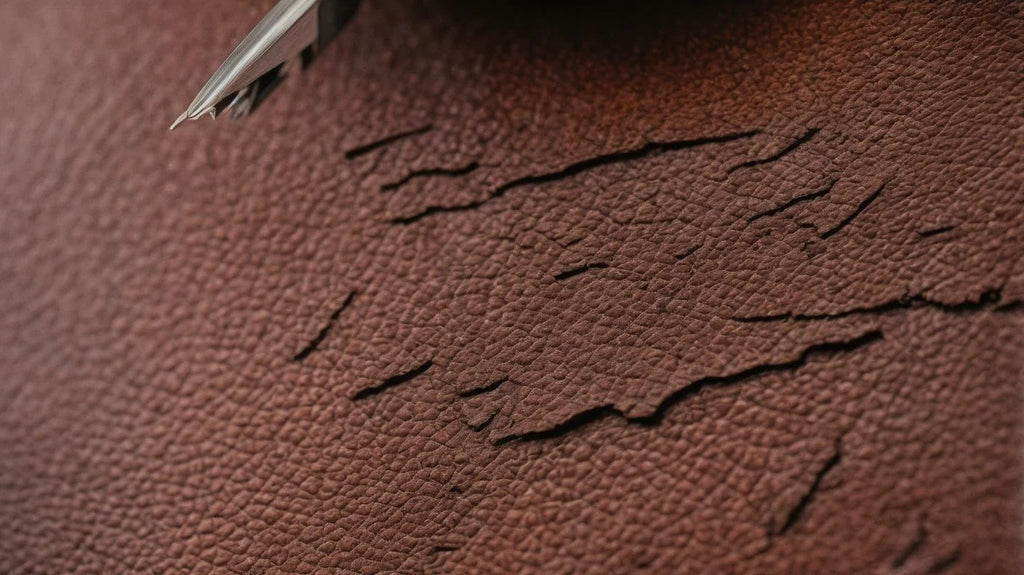
Leather can develop cracks due to a variety of reasons, including insufficient moisture, exposure to sunlight, and drying out. High temperatures and low humidity levels can also play a role in the formation of cracks in leather. Moreover, using improper cleaning or conditioning products can accelerate the deterioration of leather, leading to the development of cracks over time.
How to Prevent Cracks in Leather?
- Regular Cleaning: Wipe leather with a damp cloth and use a leather conditioner to keep it moisturized.
- Proper Storage: Store leather items away from direct sunlight and heat sources to prevent drying and cracking.
- Avoid Harsh Chemicals: Refrain from using harsh cleaning products that can strip the leather of its natural oils.
- Use Leather Protectant: Apply a leather protectant to create a barrier against moisture and UV rays.
- Conditioning: Apply a leather conditioner at regular intervals to maintain the leather's suppleness and prevent cracks.
- Preventing Cracks in Leather: Follow these tips to keep your leather items in top condition and avoid cracks.
What Tools and Materials Do You Need?
- Leather cleaner and conditioner to effectively clean and moisturize the leather.
- Leather repair compound to fill in the cracks and restore the surface of the leather.
- Fine-grit sandpaper to smooth out and refine the repaired area.
- Soft cloth for application and buffing to achieve a polished finish.
It is crucial to use high-quality products and carefully follow the instructions to successfully repair cracks in leather. Additionally, it may be beneficial to seek professional assistance for more extensive damage.
How to Repair Cracked Leather?
If you notice cracks in your leather goods, don't worry - they can be easily repaired with the right tools and techniques. In this section, we will provide a step-by-step guide on how to fix cracked leather. From cleaning the leather to applying the final finish, we'll cover each essential step in detail. So, grab your repair kit and let's get started on restoring your leather items to their former glory.
Step 1: Clean the Leather
- Identify the type of leather to determine the appropriate cleaning method.
- Remove dust and dirt using a soft, dry cloth or a vacuum cleaner with a soft brush attachment.
- For stains, use a damp cloth with a mild soap solution, gently wiping the affected area.
- Ensure the leather is completely dry before proceeding to the next repair steps.
In 1873, the first patent for a leather cleaning product was registered in the United States, marking a significant milestone in the care and maintenance of leather goods.
Step 2: Apply Leather Conditioner
Choose a high-quality leather conditioner suitable for the type of leather. Apply a small amount of conditioner on a soft, clean cloth. Gently rub the conditioner into the leather in a circular motion, ensuring full coverage. Allow the conditioner to penetrate the leather for the recommended time, then buff the leather with a dry cloth to remove any excess conditioner.
Step 3: Sand the Cracked Area
- To prepare the cracked area, gently sand it with fine-grit sandpaper. This will help to smooth out the surface and remove any rough edges or loose fibers.
- Take care to be gentle while sanding to avoid causing further damage to the leather.
- Once finished sanding, use a soft, dry cloth to wipe the area clean and remove any dust or debris.
When sanding the cracked area, make sure to support the leather well and avoid applying excessive pressure to prevent the cracks from deepening.
Step 4: Fill in the Cracks
- Clean the cracked area with a leather cleaner and let it dry completely.
- Use a leather filler compound to fill in the cracks, ensuring it's spread evenly.
- Allow the filler to dry according to the manufacturer's instructions.
- Smooth out the filled area with fine-grit sandpaper to match the surrounding surface.
- Apply a leather conditioner to nourish and protect the repaired area.
After following these steps, a friend repaired their cherished vintage leather bag, reviving its allure and functionality.
Don't dye on me now, leather. We're just getting started.
Step 5: Sand Again and Apply Leather Dye
- After filling in the cracks, sand again and apply leather dye to match the color and texture of the leather.
Make those cracks disappear with a finishing touch of leather magic.
Step 6: Apply Leather Finish
- Clean the leather thoroughly to remove any dirt, dust, or residues from previous treatments.
- Apply a suitable leather conditioner to hydrate and soften the leather, preparing it for the finishing process.
- Sand the cracked area gently to smooth out the surface and ensure better adhesion of the filler.
- Fill in the cracks with a high-quality leather filler, ensuring it is evenly distributed and level with the surrounding area.
- After filling, sand the area again lightly before applying an appropriate leather dye to match the original color.
- Apply a leather finish to seal and protect the repaired area, providing durability and a polished appearance.
Tips for Maintaining Leather to Avoid Cracks
- To prevent drying and cracking, it is important to keep leather moisturized with a leather conditioner.
- Avoid exposing leather to direct sunlight or heat sources as this can cause drying and fading.
- Regularly clean leather with a damp cloth and leather cleaner to remove dirt and oils that can lead to cracking over time.
- When not in use, store leather items in a cool, dry place to prevent the growth of mold and mildew which can damage the material.
Remember, following these tips for maintaining leather and avoiding cracks can greatly extend the lifespan of your leather goods.
When Should You Seek Professional Help for Leather Repair?
You should consider seeking professional help for leather repair when the damage is extensive, such as deep cuts or severe discoloration. Additionally, if you do not possess the necessary tools or expertise to handle the repair, consulting a professional is highly recommended. Moreover, it is crucial to seek professional help when dealing with valuable or sentimental leather items to ensure their restoration is carried out with care and precision.


